

Elevate your beauty routine with our easy-to-follow guide on applying DIY lash extensions.
This guide will walk you through each step,
ensuring a flawless application that enhances your natural allure with sophistication and ease.

Step 1: Start with a Clean Slate
Begin with a clean and fresh face. Gently apply our specialized bonding agent (hereafter referred to as "Bond") to both your natural lashes and the lash extension band. Allow approximately 20 seconds for the Bond to become tacky, creating the perfect base for your lash extensions.
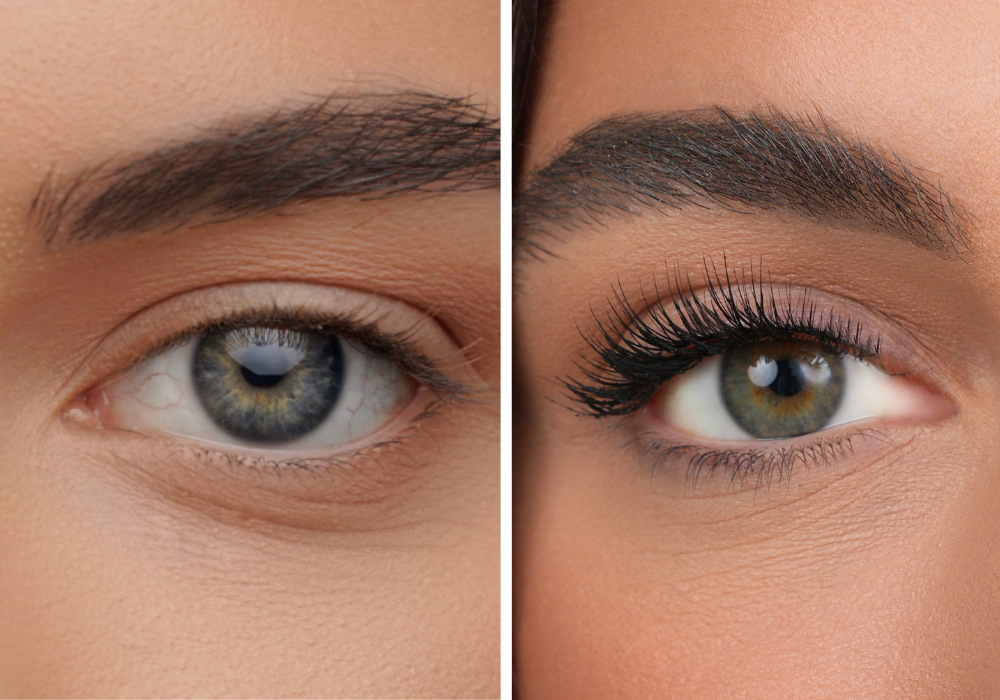
Step 2: Precision Application for a Seamless Look
Using the precision applicator, carefully place the lash extension cluster just below your natural lash line. This step is crucial for achieving a seamless blend between the extensions and your natural lashes, ensuring an elegant and refined look that enhances your eyes without overshadowing their natural beauty.
Step 3: Secure Your Extensions with Confidence
To ensure your DIY lash extensions remain in place, apply a thin layer of our sealing solution (referred to as "Locker") as you would mascara. This not only secures the extensions but also provides a natural, mascara-like finish that enhances the overall look of your lashes.
Step 4: Safe and Gentle Removal
When it's time to remove your lash extensions, use our specially formulated remover for a gentle and effective process. Carefully comb through the extensions in a downward motion, then cleanse with your preferred makeup remover to ensure your natural lashes are left healthy and intact.
Pro Tips for Perfecting Your Lash Extension Routine:
- Find the most comfortable grip for the precision applicator to ensure a smooth and stress-free application.
- Practice the application process to become quicker and more efficient, making it a seamless part of your beauty routine.
- Ensure your face and natural lashes are thoroughly clean before starting to maintain lash health and prevent any potential irritation.
- Pick up the lash extension cluster from the top for easier handling and application.
- Experiment with the placement of lash clusters along your lash line (inner, outer, or middle) to discover what feels most comfortable and looks most flattering on you.
- Use a mirror placed beneath your face for a clear view, facilitating easier application.
- Use your ring finger as a stabilizing anchor for more precise application.
- Keep the lash extensions 1-2 mm away from the waterline to ensure comfort and to maintain the integrity of the bond.
Embrace the luxury of our DIY lash extensions and enjoy the empowerment of enhancing your natural beauty on your terms.