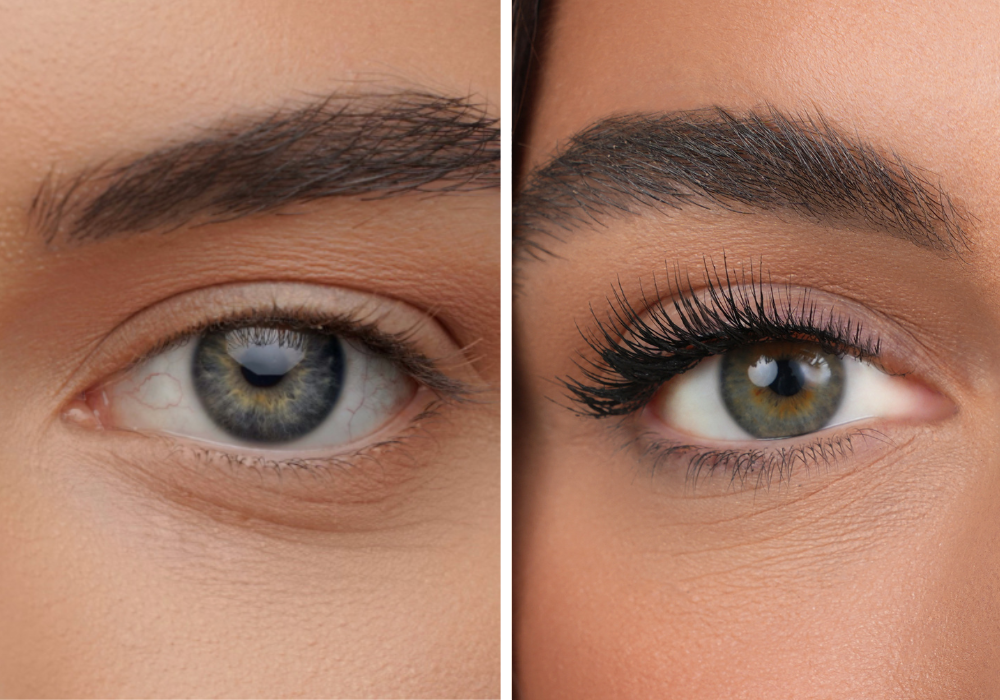
In the realm of beauty and elegance, eyelash extensions stand out as a game-changer, offering a mesmerizing lift to your natural allure. But what if we told you that achieving salon-grade eyelash extensions from the comfort of your home is entirely within your reach? Yes, with the right tools, techniques, and a dash of patience, you can master the art of DIY eyelash extensions. Fiery Cosmetix is here to guide you through every step, ensuring you achieve the best results with our top-tier, easy-to-use products. Let's dive into the ultimate guide to the best do-it-yourself eyelash extensions.
-
Why Choose DIY Eyelash Extensions
Opting for DIY eyelash extensions not only saves you a trip to the salon but also offers the flexibility to customize your look to perfection. Whether you're aiming for a subtle enhancement or dramatic volume, doing it yourself means you're in control. Plus, it's a cost-effective beauty solution that, with practice, can become a quick and enjoyable part of your beauty routine.
-
What You Need for Your DIY Eyelash Extension Kit
Before we begin, let's ensure you have everything you need:
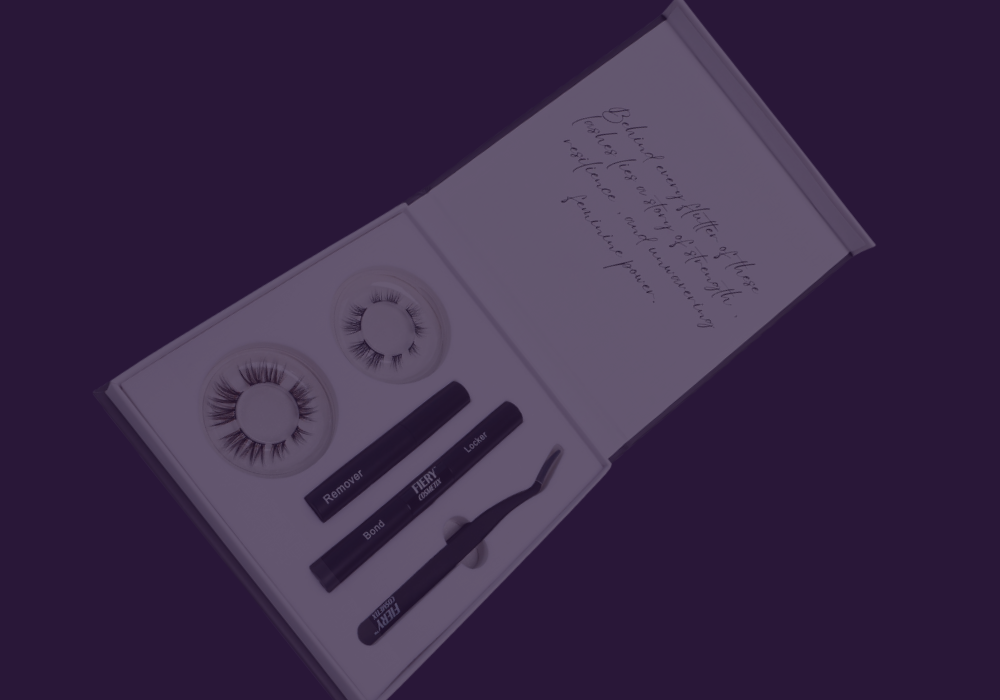
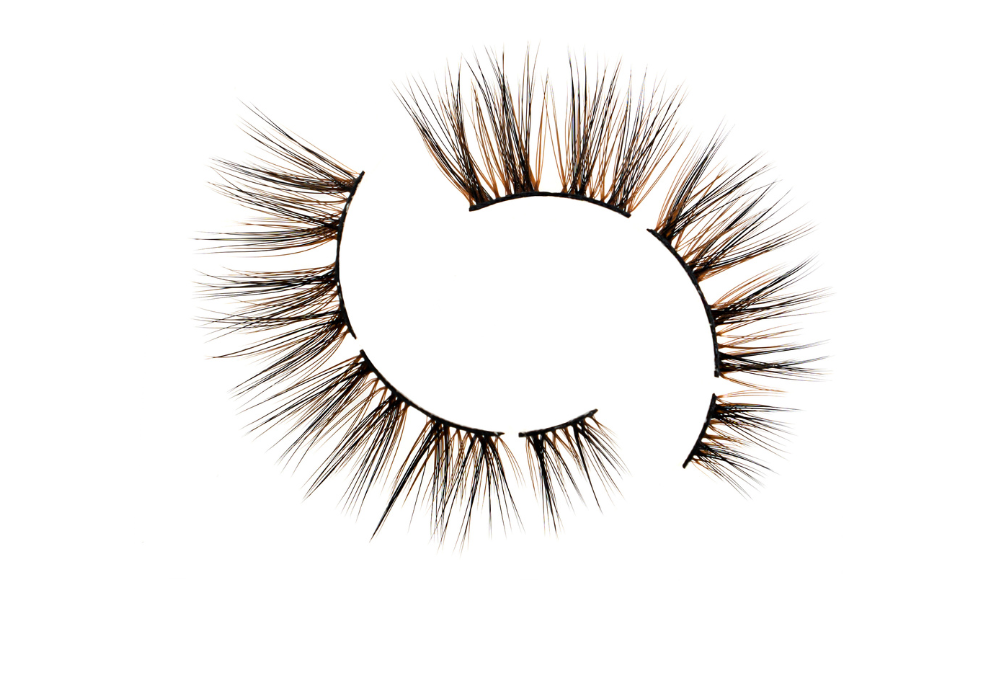
- High-quality lash extensions: Choose from Fiery Cosmetix's, designed for ease of use and natural aesthetics.
- Lash bond: Opt for a safe, reliable bond that ensures longevity and comfort.
- Lash applicator: For a more comfortable grip and application.
- Locker: Ensure lasting wear with our quick-set Lash Locker.
- Remover: Safely remove extensions with our gentle Lash Remover.
-
Step 1: Preparing Your Natural Lashes
Start with a clean slate by gently cleansing your eyelids and lashes to remove any makeup, oil, or residue. Dry them softly, ensuring no moisture is left, as it can interfere with the adhesive's effectiveness.
-
Step 2: Selecting the Right Lashes
Choosing the right lash extensions is pivotal. Consider your natural lash length, desired volume, and the overall look you're aiming for. Fiery Cosmetix offers a variety of lengths and volumes to match your needs, ensuring a natural yet enhanced lash line.
-
Step 3: Applying the Lash Extensions
Now, for the main event:
- Start by applying Bond (black) to both your natural lashes and the cluster lash band. Wait for 20 seconds.
- Use the applicator to gently and accurately place the lash cluster just below your natural lashes.
- Apply a thin coat of Locker (white) as you would mascara to set the lashes.
- For removal, gently comb lashes downward with our remover, then cleanse with makeup remover.
-
Step 4: Setting and Caring for Your Lashes
Allow the adhesive to dry for a few minutes. Avoid touching or wetting your lashes during this time. For daily care, gently brush your lashes with a clean spoolie and avoid oil-based makeup removers, as they can weaken the adhesive.
-
Step 5: Removing and Reapplying Extensions
When you're ready to remove or replace your lashes, use the dedicated Lash Remover from our starter kits to gently dissolve the glue. This ensures a safe removal process, protecting your natural lashes from damage.
-
Conclusion: Enjoying Your New Look
Embrace the stunning transformation and the joy of mastering DIY eyelash extensions. Remember, practice makes perfect, and soon, this beauty ritual will become a swift, satisfying part of your routine.

Ready to embark on your DIY eyelash extension journey? Explore Fiery Cosmetix's range of premium, easy-to-use DIY lash extensions collection, designed with your beauty and convenience in mind. Join our community for more tips, tutorials, and to share your dazzling lash looks. Because at Fiery Cosmetix, we believe in empowering you to enhance your natural beauty, effortlessly.


